When developing a STEM (Science, Technology, Engineering and Mathematics) project, systematizing and recording teaching practices can be a task that goes unnoticed in the face of so many other demands. But ensuring that the project is remembered not only enhances the value of the journey, but also helps the mediator teacher to reflect on the experience, evaluate the results and improve the application of pedagogical practices.
To help educators with this task, Solve for Tomorrow Latam has compiled some recommendations. Check them out:
1. Record all stages of the STEM project
Don’t leave it until the end. Do them throughout the STEM project journey. Take photos of the team in meetings, take notes of what was discussed, write down the main ideas and challenges of each day. Write down the mistakes and successes, film the tests and capture the results. In the project “Microestação de tratamento de água domiciliar portátil” (honorable mention at Solve for Tomorrow Brazil 2022), the class portrayed everything from the drawings to the assembly of the prototype, using their own cell phones.
2. Pay attention to the quality of the photos
Besides making sure you get the shots along the way, check that the quality of the images is good. You don’t need professional equipment for this. You can take good images with your cell phone camera. Make sure you’re fitting everyone in, without cutting off someone’s head or arm in the frame, for example. Brazilian journalist and photographer Dubes Sônego, who is experienced in recording education projects, also recommends taking advantage of the frame to fit the person or subject. “If you’re going to take a picture of a person, don’t stand too far away from them. Get close enough for them to appear, but without leaving too much space around them,” he suggests. He also stresses that you should look out for people or objects that don’t need to be there. “It’s also good to think about the direction the light is coming from. If the person has their back to the sun, the photo will look darker than the background,” he adds. The tips also apply to videos. In this case, remember to film both vertically and horizontally and be careful with the audio. Give preference to recording in quieter and/or echo-free places and, when possible, use a second smartphone just to capture the audio, as if it were a separate microphone.
Check out some good examples below:

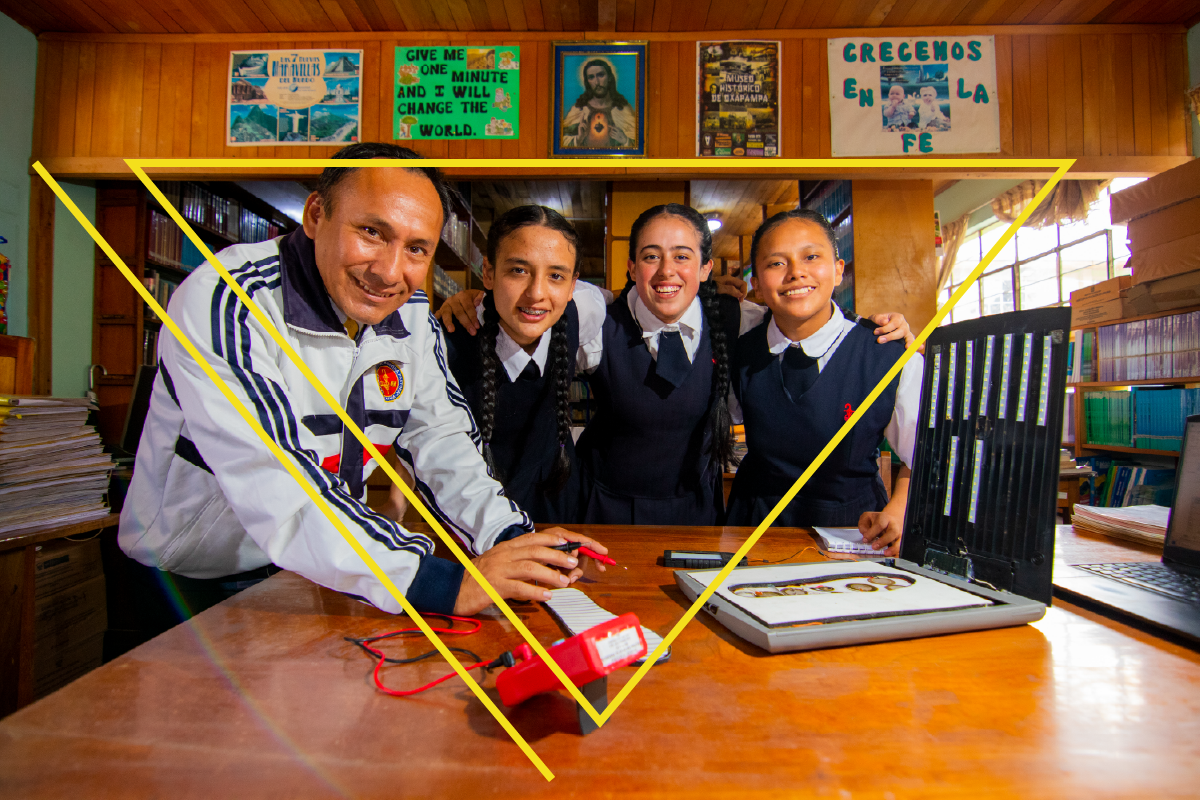
In this photo of “Chonta-tec” project, the whole team is well framed, as are the prototype parts and even the school environment. It’s a good example of composition, which also exploits diagonal lines to create a sense of harmony in the image..

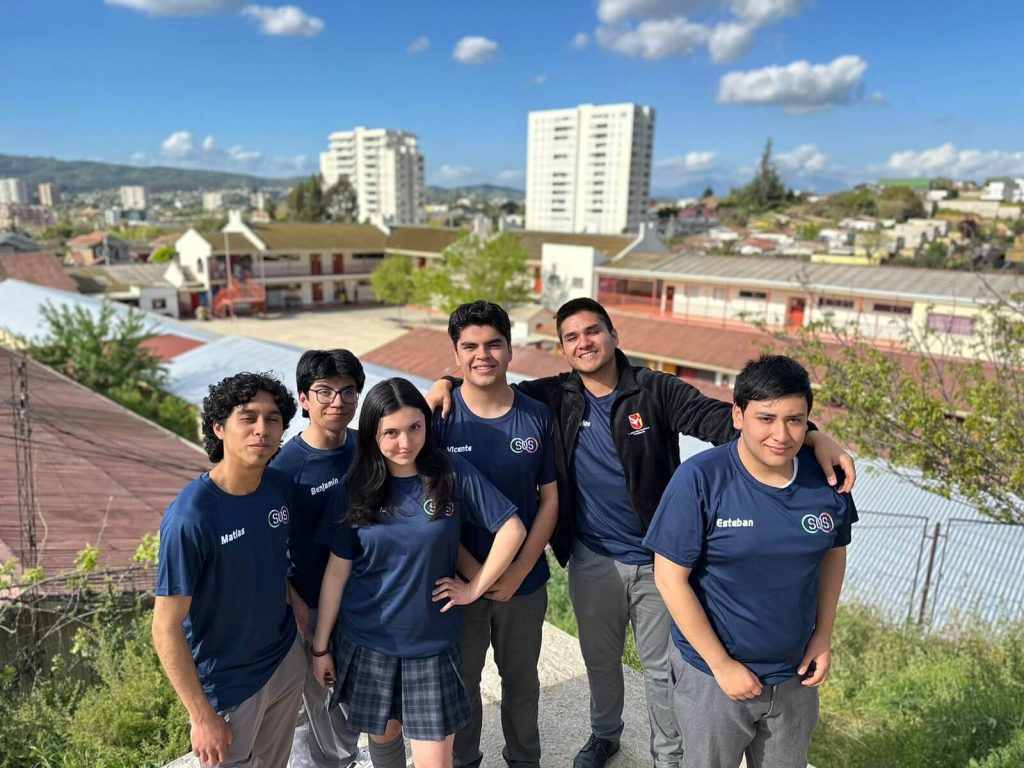
The “Seekers of Silence” team’s photo made good use of the natural light and showed the school and city scenery.

This photo from “Lechuguines en acción” is an example of the application of the rule of thirds, which basically divides the frame into nine equal parts. On some cell phones, you can activate the camera’s grid mode to view along these lines. This way, the subjects or people of most interest are at the points of intersection. There is a balanced proportion: the sky covers 2/3 of the height of the image, as do the people.
3. Involves all the group
By working as a team, you can get several perspectives and gather as much material as possible. Encourage all students to take photos, notes and videos during the process. In addition, you can appoint one student at each meeting to be responsible for the “logbook” (in text and image).
4. Do a checklist for photos
There are some photos that can’t be left out of the project memory and it’s interesting to have a list to remember to click on while the project is still in progress. Photos are important information records throughout the process. At the end of the project, they can be revisited in order to identify with the students specifically what they have learned. It is also essential to have a photo of the whole team together presenting the final prototype and images that show the “setting” of the experiment, whether in a laboratory or outdoors when the work involves a field trip. There are also images of the prototype itself and its application. The “Sulcac Orgánico” project, winner of Solve for Tomorrow Peru 2023, took advantage of trips to the countryside to take photos of the students in action.
5. Be careful with image authorization
When taking pictures, make sure that everyone there is allowed to be photographed or filmed.
As the project progresses at Samsung Solve for Tomorrow, you may need to present the terms of authorization for image use signed by all team members (or legal guardians, in the case of children under 18).
6. Collect different testimonials
Feedback from everyone involved is crucial and can help validate the efficiency of the prototype and support the final reports. So make a record of these testimonies by writing them down or even making videos in interview format. In the 2023 finalist project “Juegos tradicionales digitales sin fronteras”, from Ecuador, the team presented the prototype to Joaquín, a 17-year-old student with Down’s Syndrome, and took photos and notes of this test.
7. Organize files in the cloud
Just as important as having the records is organizing them. The tip here is to create a collaborative folder in the cloud, on your preferred storage platform, and share it with the rest of the team. There, you can insert and name the files (in text, audio or image) whenever you are producing. This way, you’ll have a collection at hand whenever you need it. One suggestion is to separate them into folders by each Design Thinking stage and name the files with dates, for example “22082024_Foto desenho projeto_01”. In the case of the “SIFT” project, a finalist in Peru in 2023, the mediator teacher organized the images in a folder in the cloud, dividing them into photos of the team, the machine, visits to the partner hospital and interactions with potential users.


